Transplanting Tips
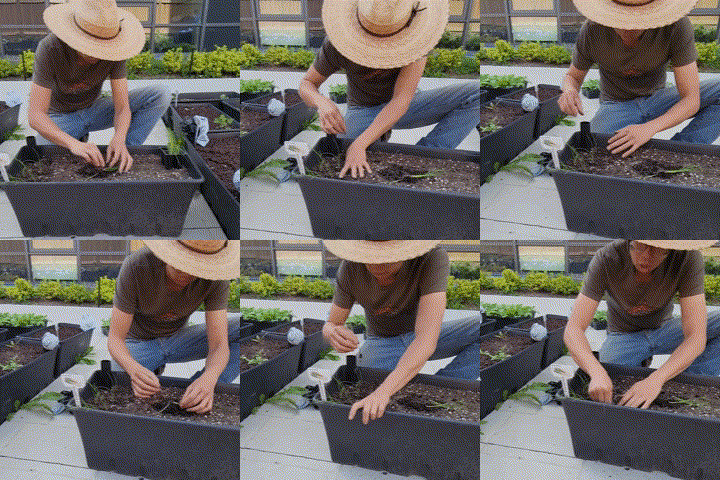
Cut an “X” or hole in the mulch cover that will accommodate the size of the root ball you are transplanting (not shown in the video).
Make your X or hole only as big as needed to fit in your transplant. You can always make the hole bigger, but you can’t make it smaller. A bigger hole provides more opportunity for evaporation loss and for weeds to take hold.
With your hands (or trowel), create space for your transplant’s root ball by pushing aside your potting soil. To check that your planting space is large enough, place your transplant (still in the original container) into the hole and adjust as needed.
For root-bound transplants (if needed and not shown in the video), gently loosen the root ball to encourage root growth in all directions.
Remove your transplant from its container and place into your planting hole.
Gently massage and move the potting soil back around the root ball to ensure good soil-root contact.
Label your new transplant (optional). For a durable, non-plastic option, we recommend our zinc garden labels for an attractive, reusable label.
Repeat the transplanting process for the remainder of your plants according to our spacing guide (link).
Water through the cover (optional, not shown). This is important when transplanting dry transplants into dry potting soil as water from the reservoir can take 24 hours to percolate up and reach the roots of your transplant.
Transplanting is best done on an overcast or cloudy day to minimize transplant shock. Or simply move your container into a shady spot to transplant before moving the container back to its original location the following day.
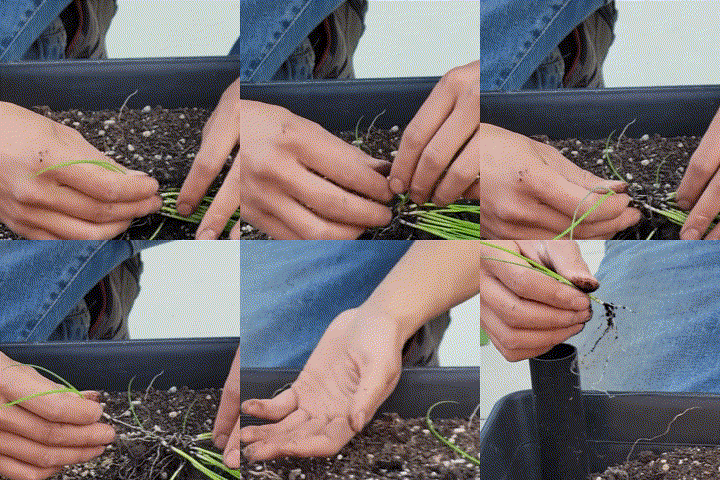
Green Onion transplanting
Watch farmer Chris demonstrate how to gently separate and plant green onions from greenhouse starter plants.

