Caja/EarthBox Setup and Planting Guide
Step 1: Gather Your Supplies
-

Choose Your Planter(s)
Choose EarthBox or Caja to enjoy simple gardening with outstanding yields for many years to come.
-

Gather Your Soil, Fertilizer, and Plants
Potting soil is easily purchased in 20L bags. Larger cubic yard totes can also be used for larger installations. Make sure you have your seeds or transplants ready for the spring outdoor growing season.
-

Choose Your Accessories
Stands, staking systems, bamboo poles, and Automatic Watering Systems can enhance your gardening experience. If you need help deciding, you can schedule a consultation.
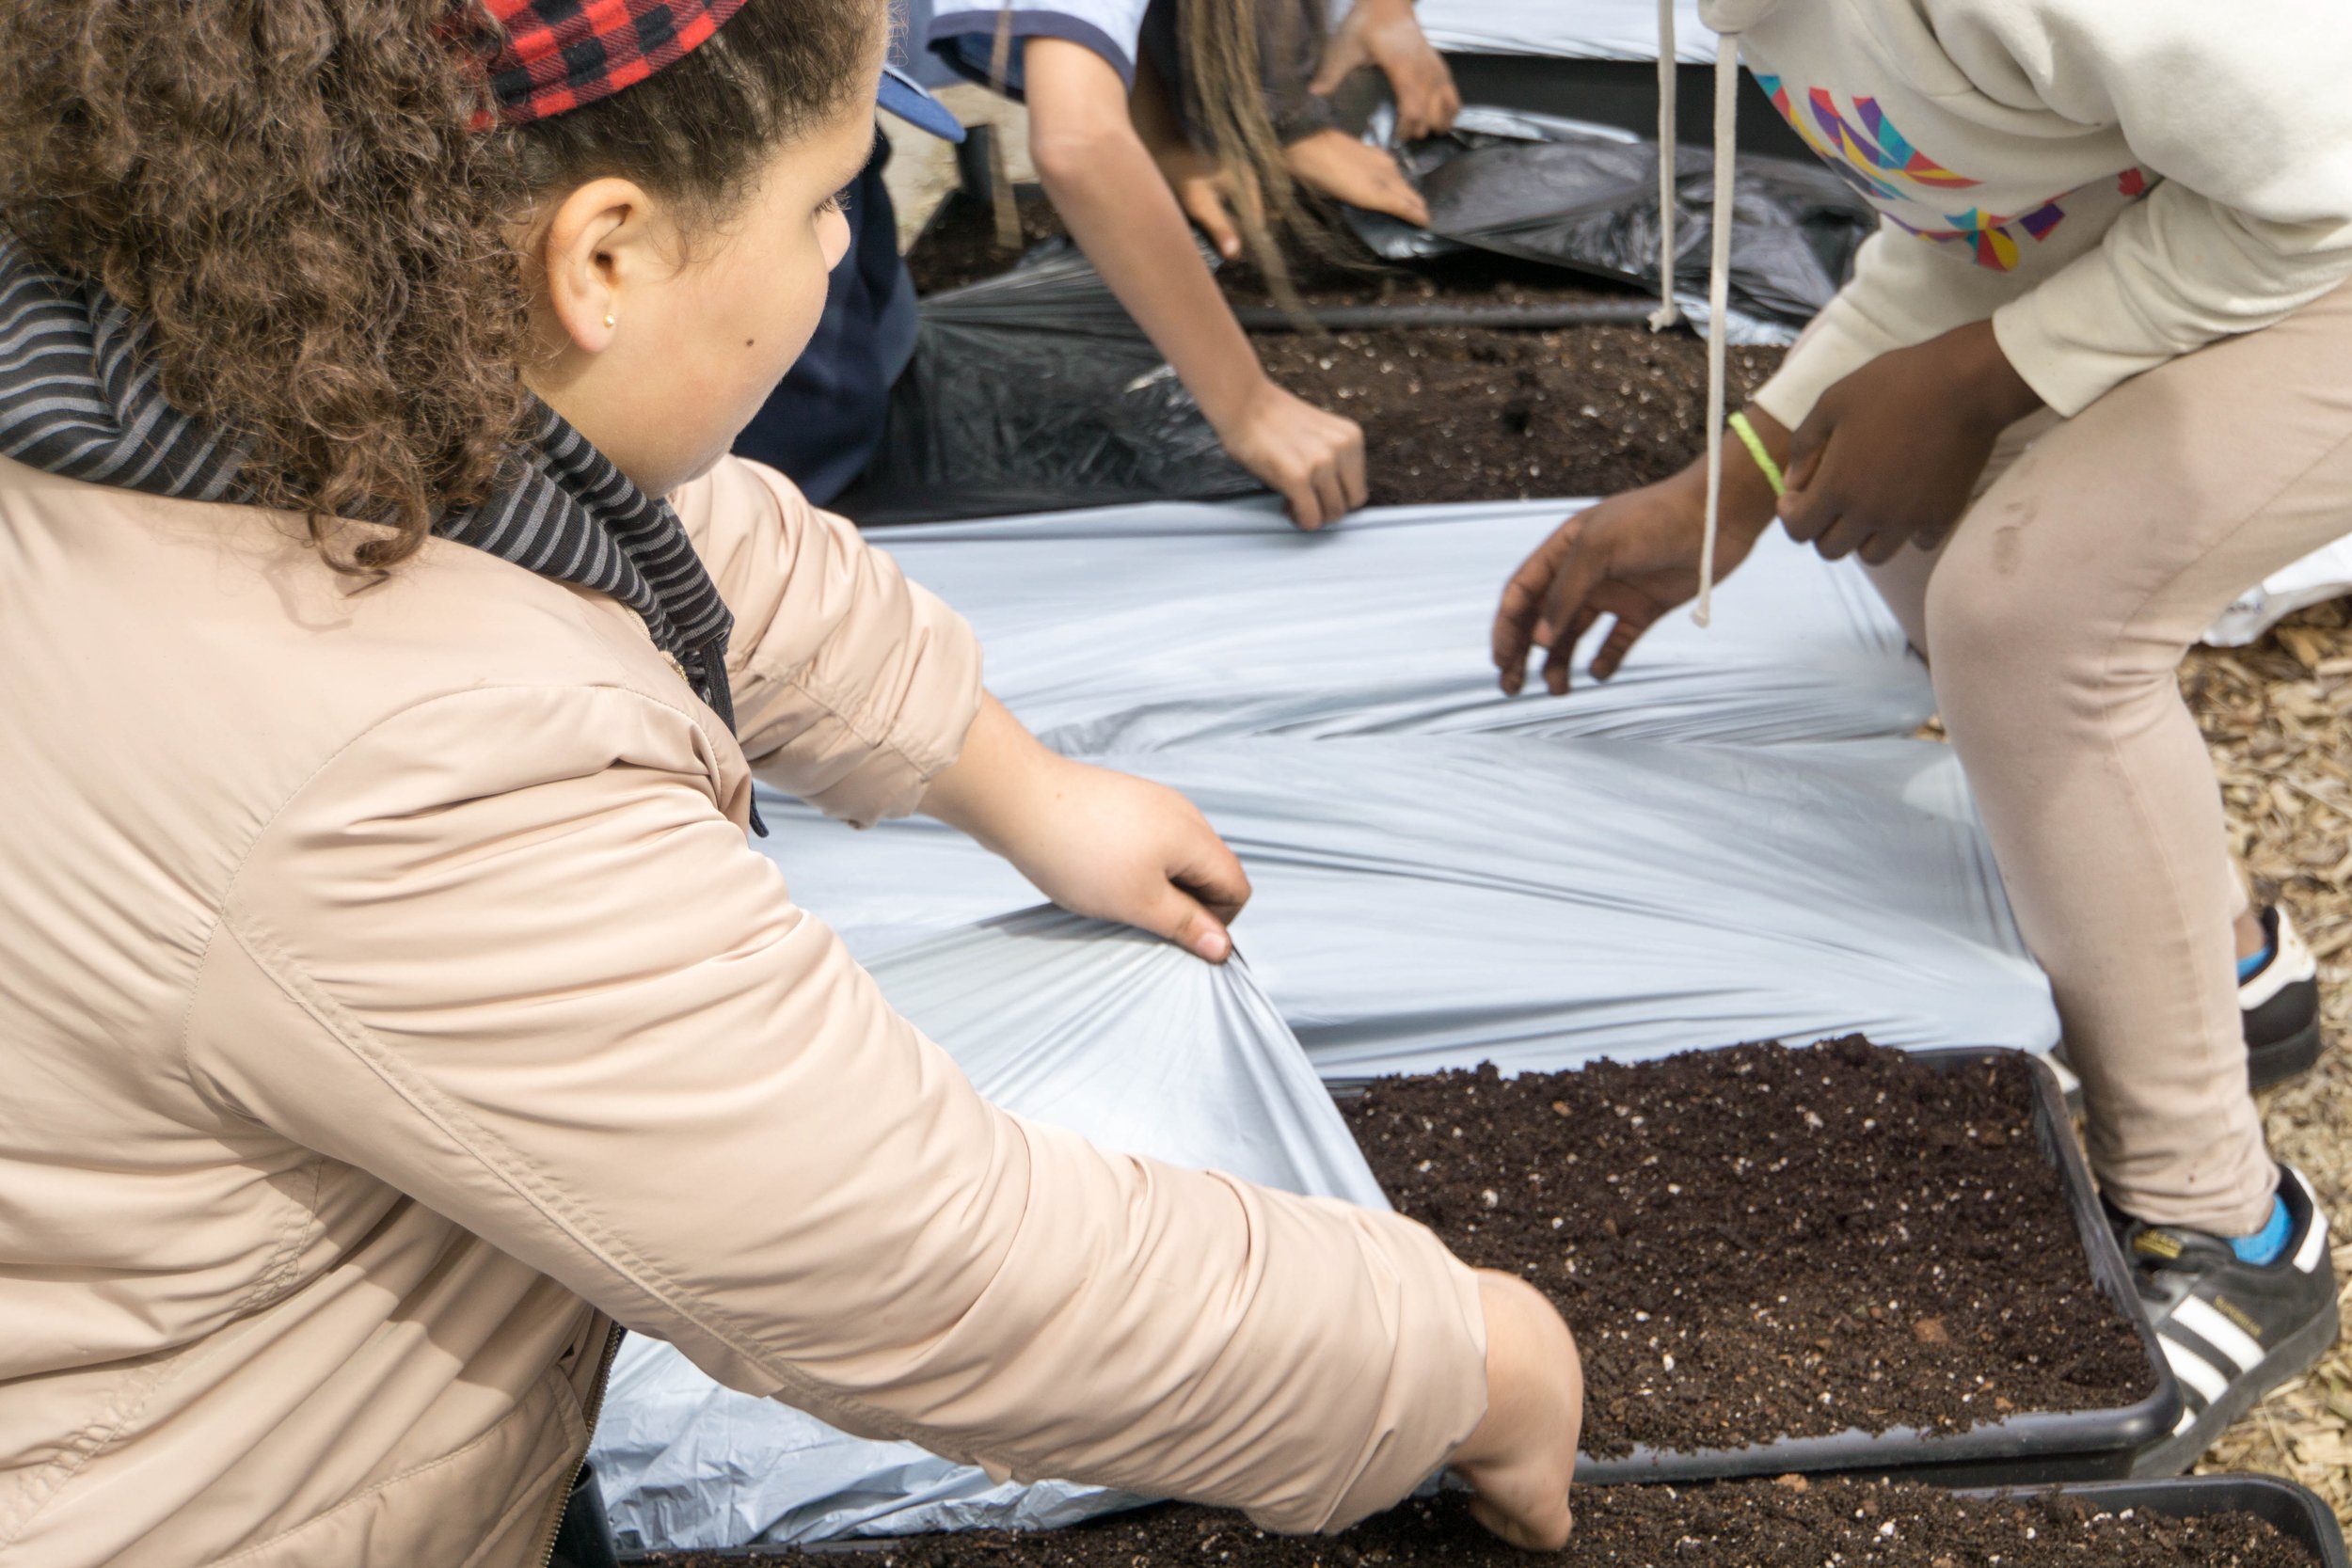
When setting up your boxes, we recommend using a tarp to catch any loose soil and keep your work area clean.

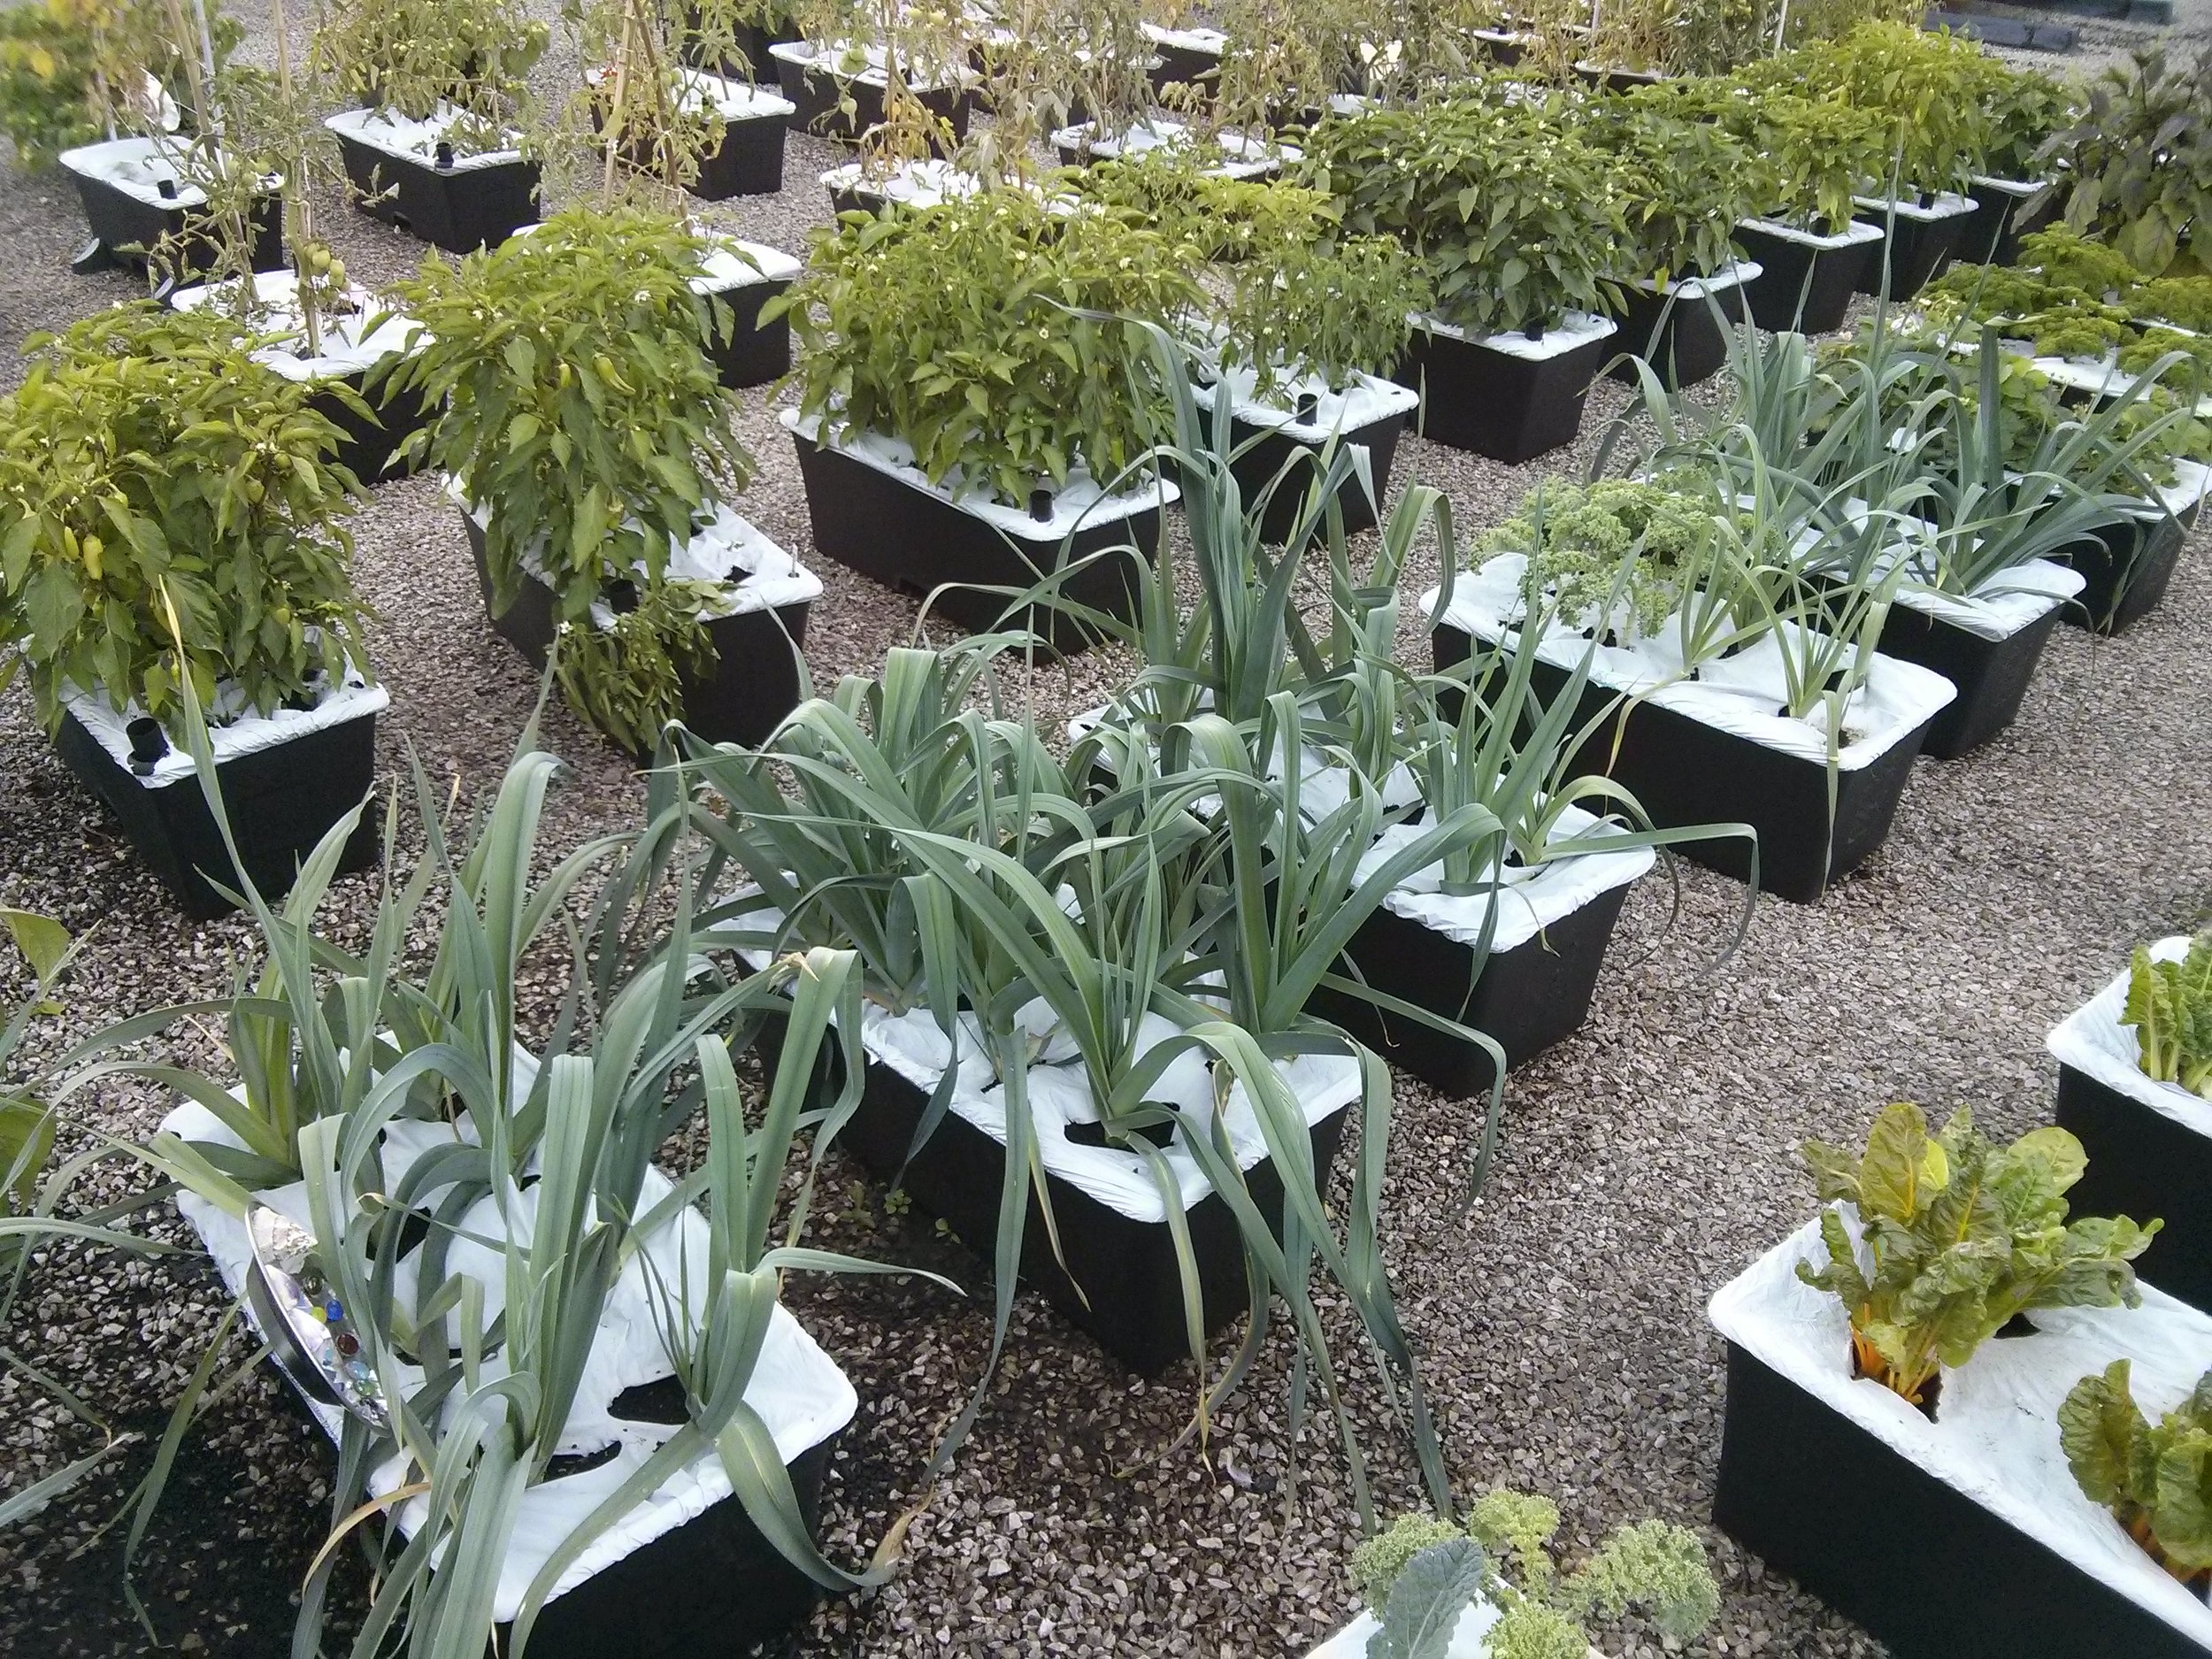
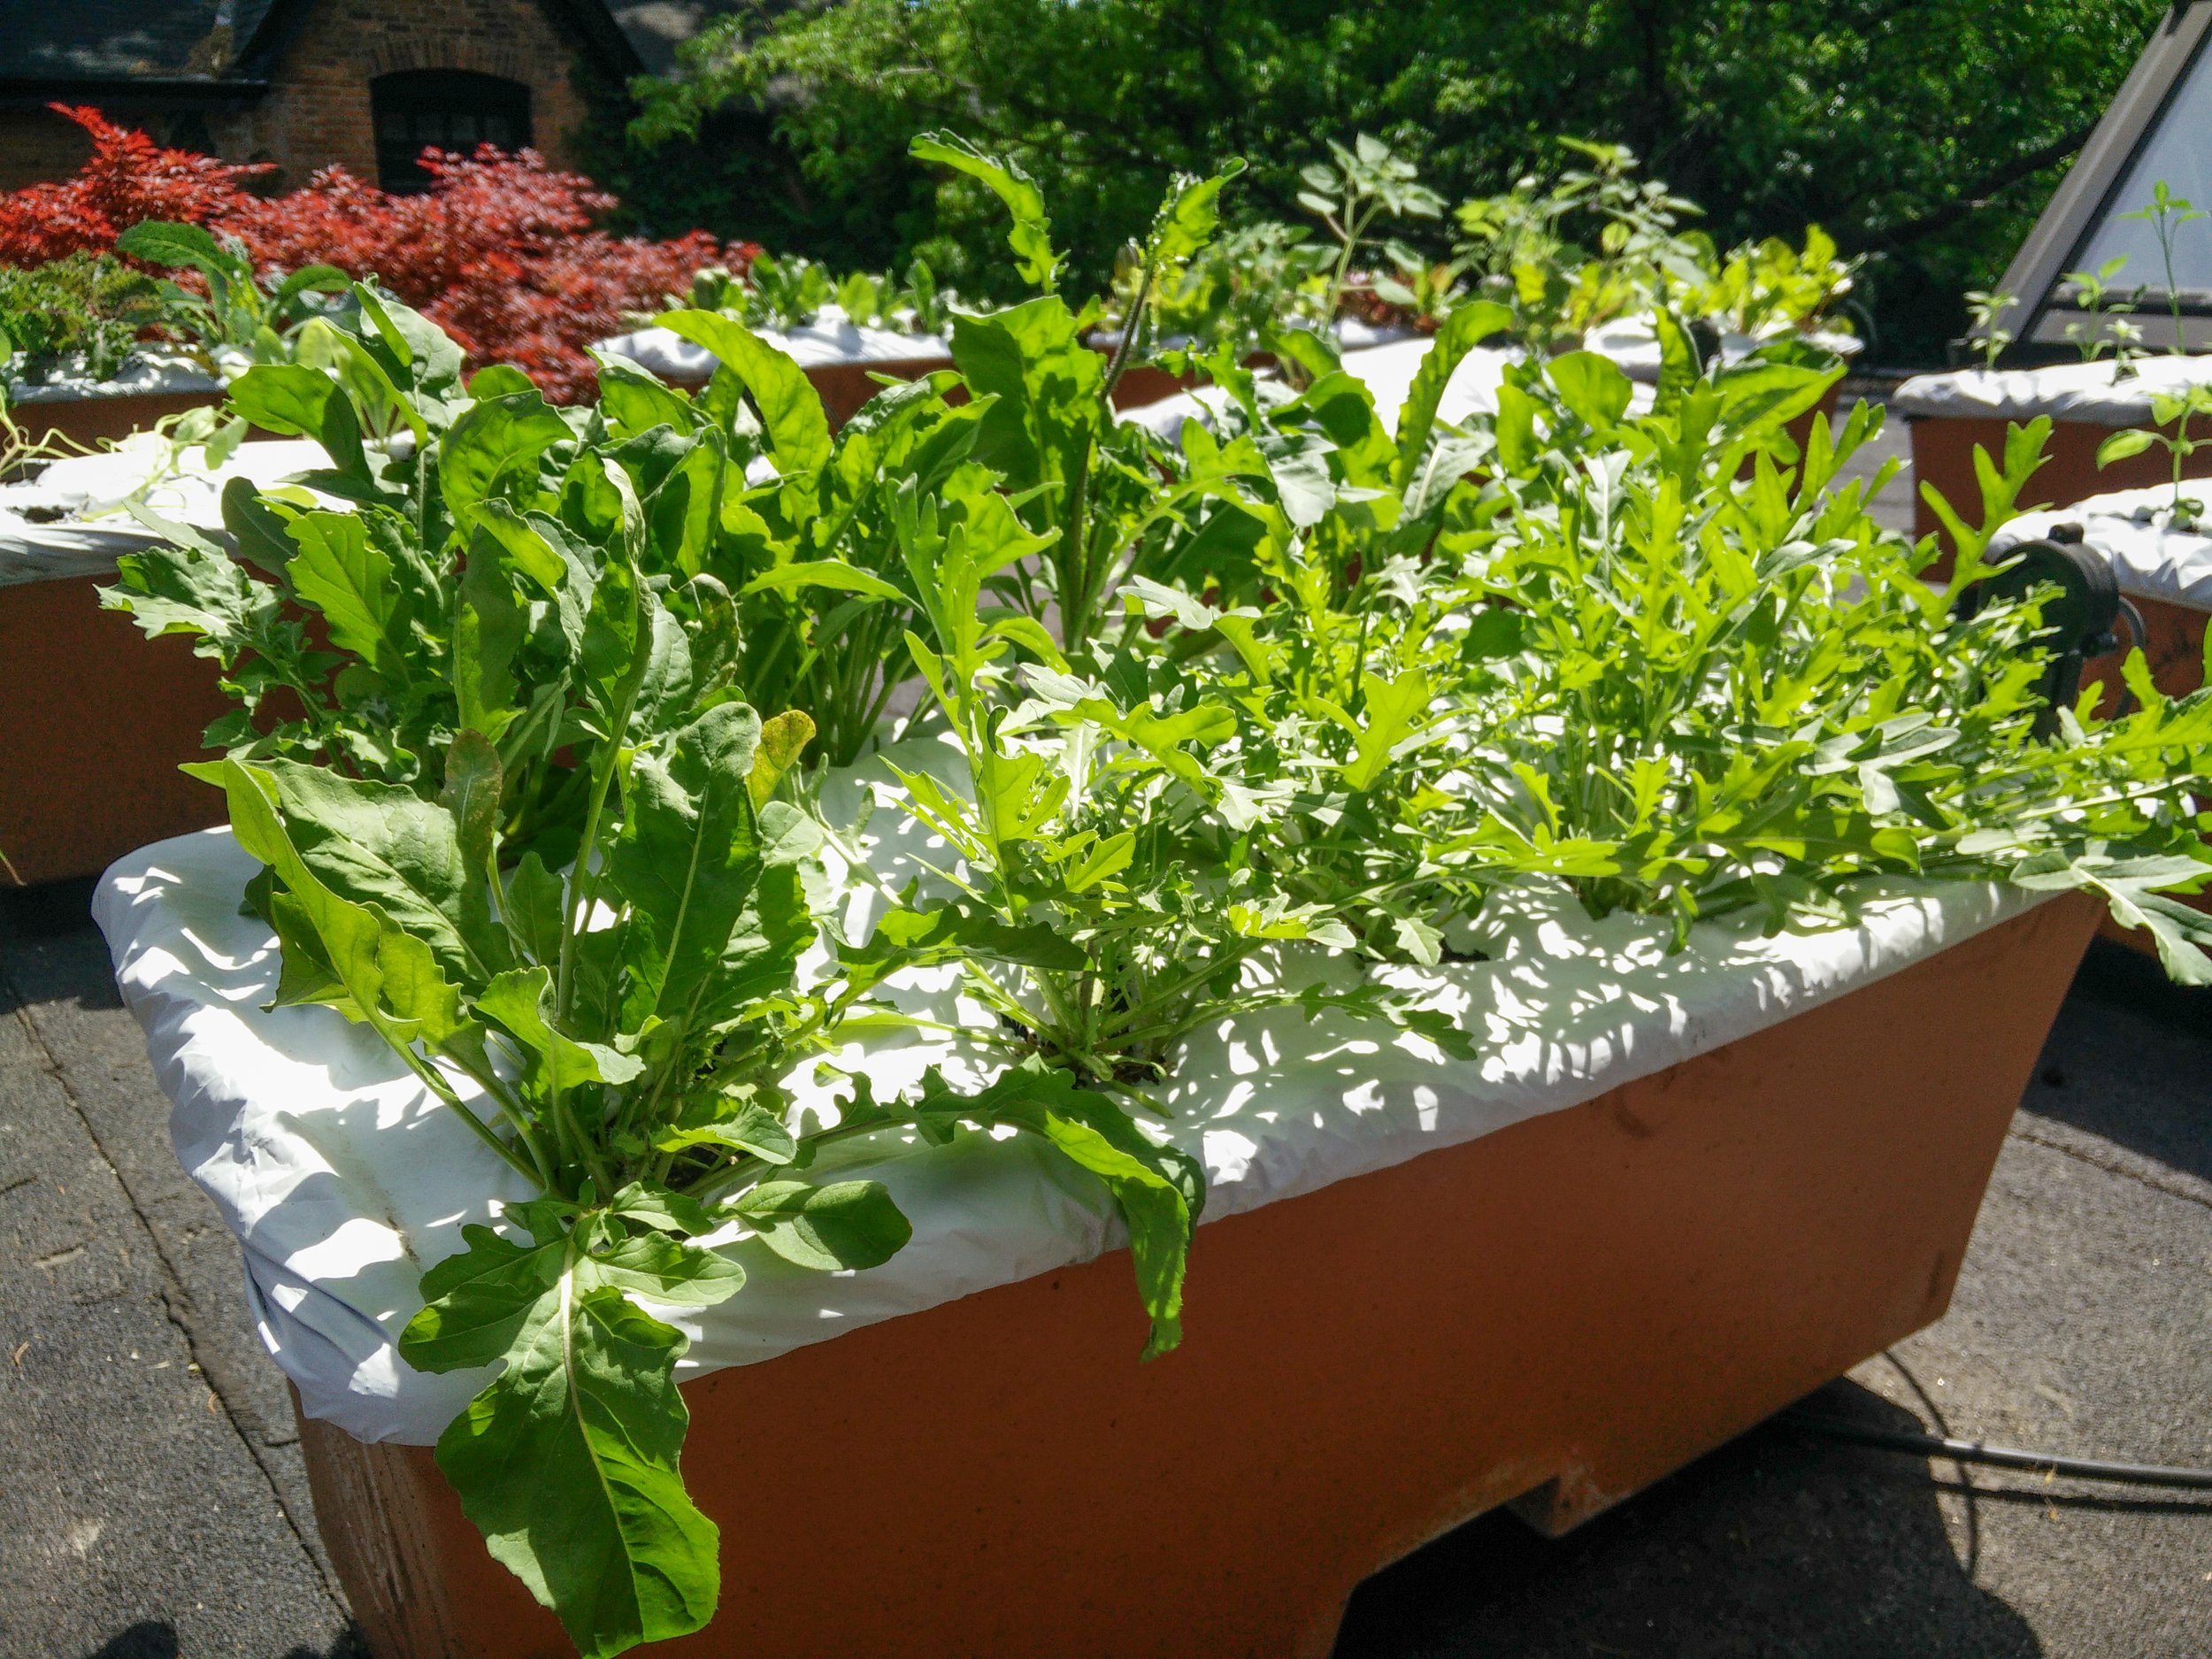
The mulch cover is reversible with a black and a white side. It keeps moisture in the soil, keeps out weeds, and minimizes soil pathogens from splashing onto your plants.
Most people should use the white side to keep the soil cool. Cut a hole or “X” in the cover where you will be planting your seeds and plants.


Aeration Screen and Fill Tube
The aeration screen sits inside the box and acts like a false bottom to separate the water reservoir below from the soil that sits on top of the screen. Ensure your potting soil is moist (dry soil can fall more easily through the screen) and pack the soil into the 2 capillary corners to ensure water can be wicked up from the reservoir into the main body of the planter.

Planting/Watering
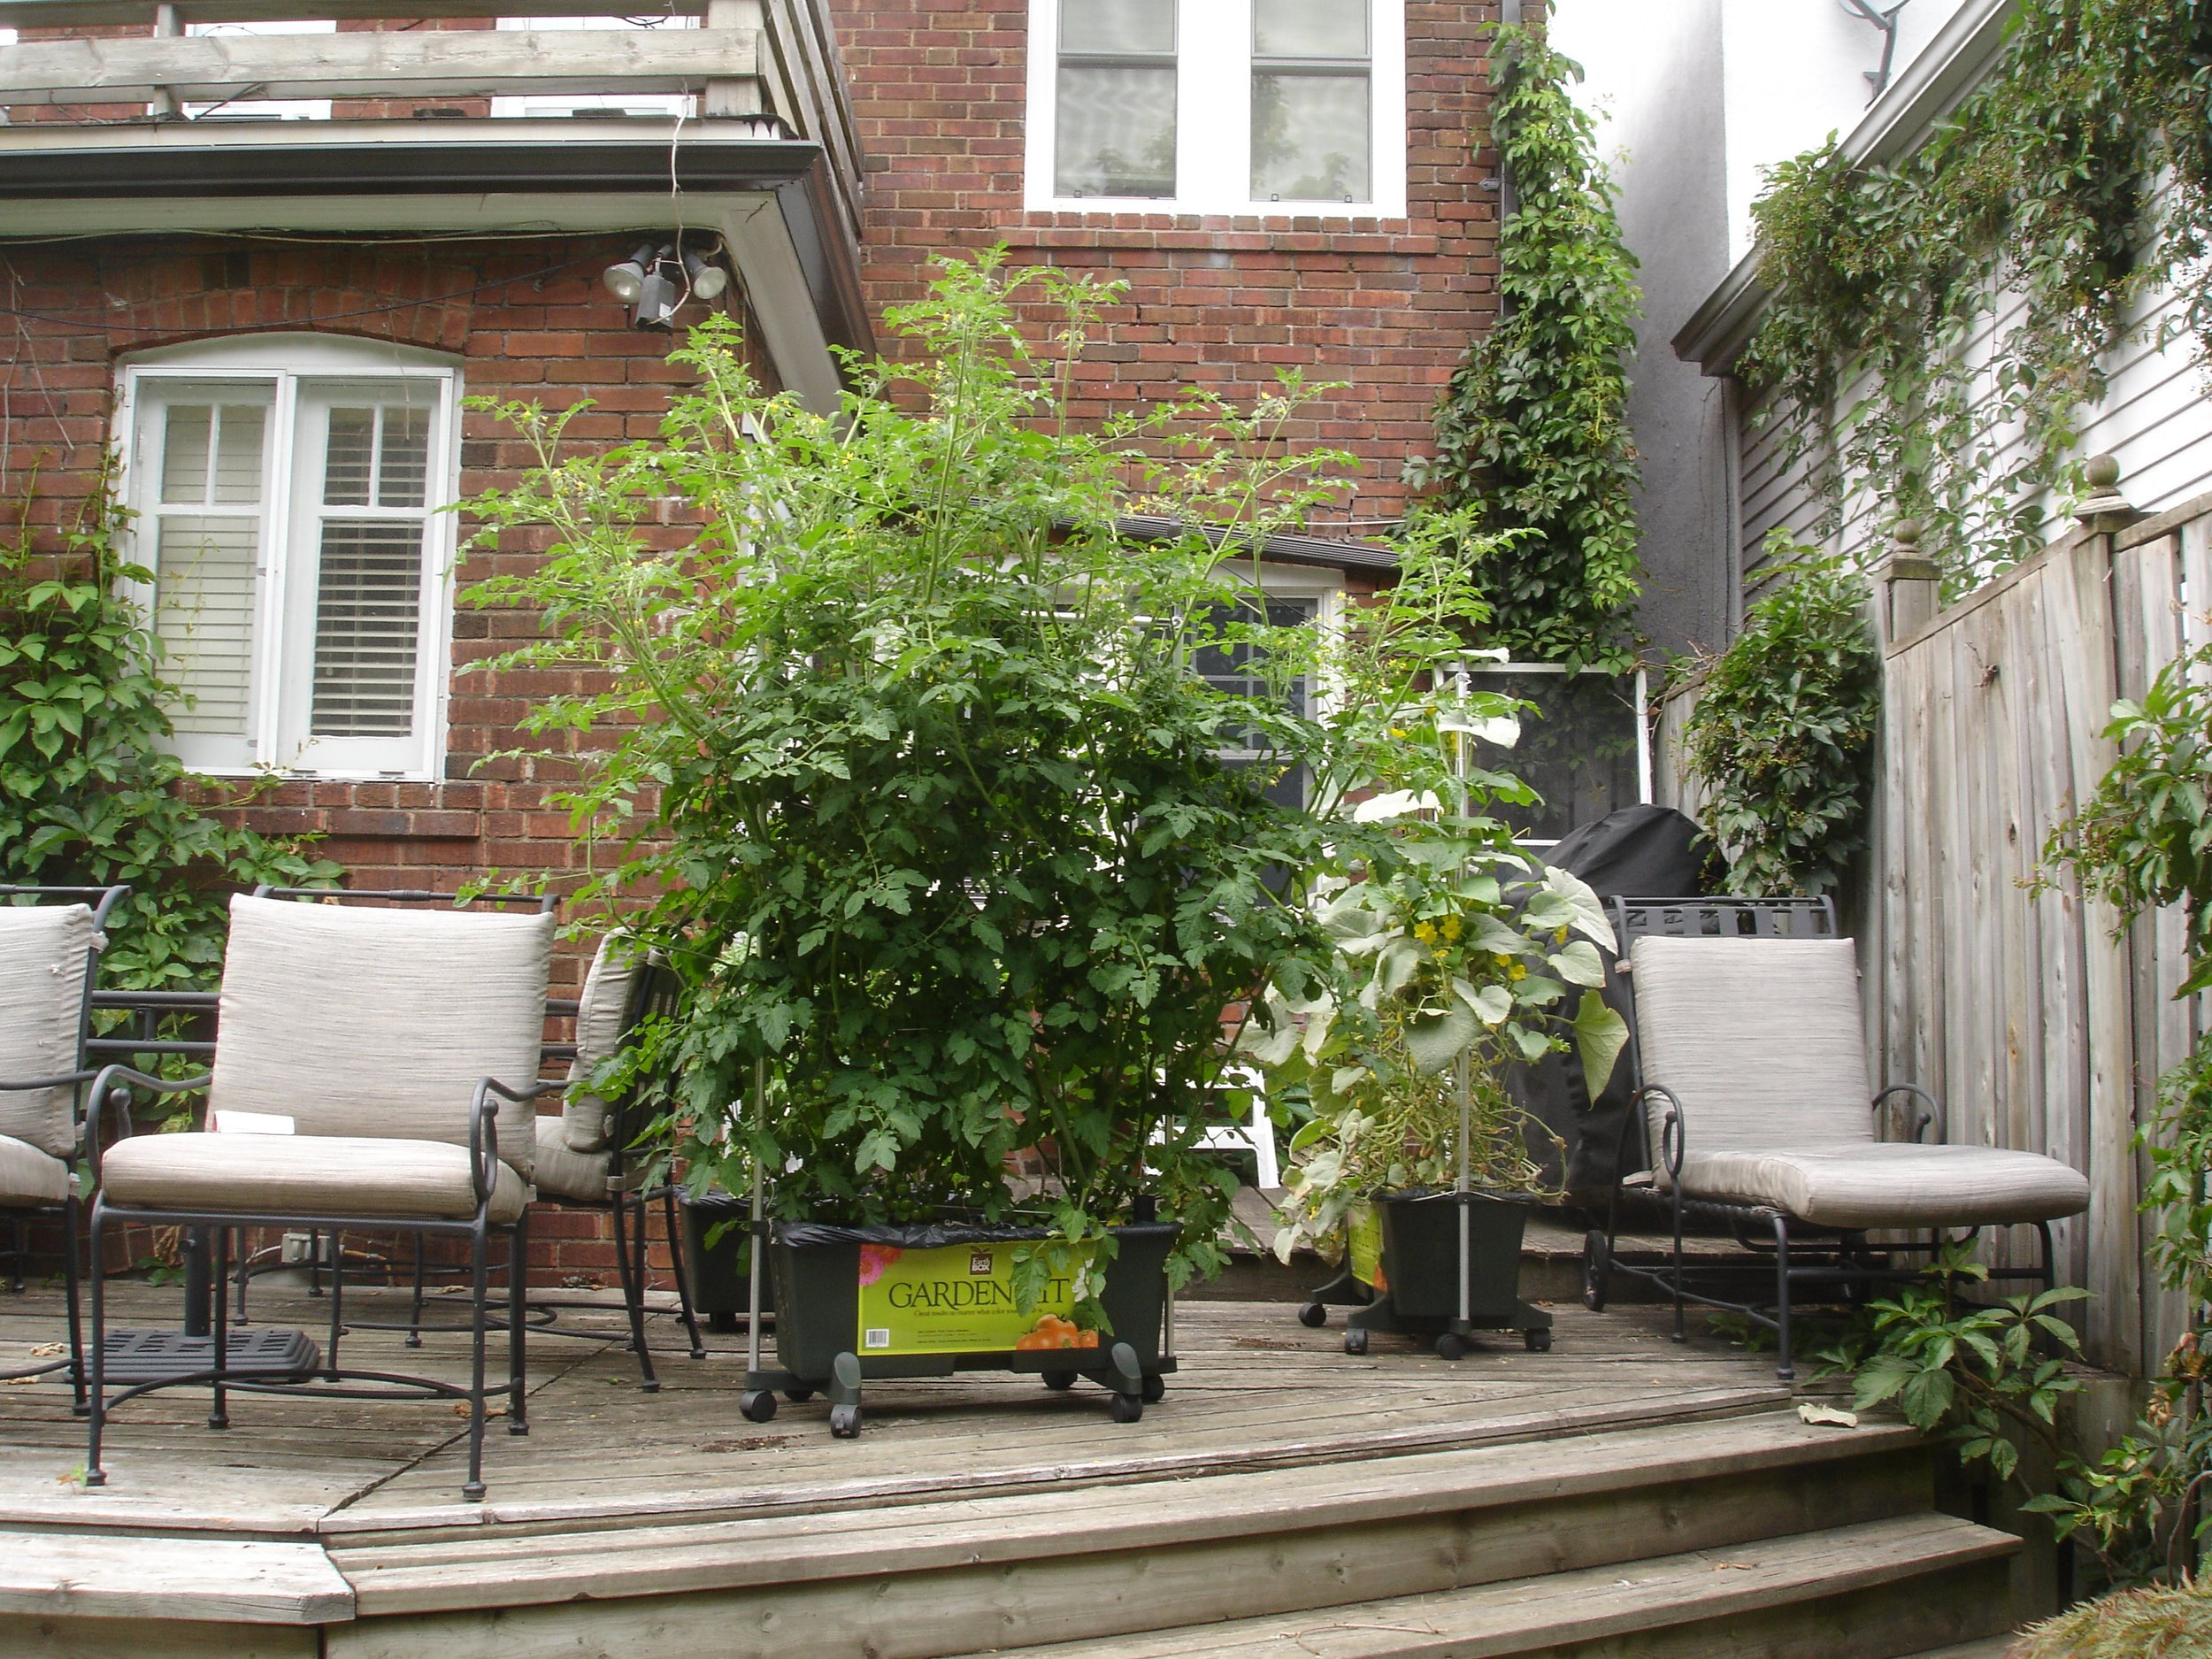
Plant according to the spacing guide. For example, with tomatoes, you want only 2 plants per box. Any more and the plants will be overcrowded and yields may suffer.

Accessories
Raise the box to waist height to reduce bending, or let your plants grow tall with support from the staking system.